
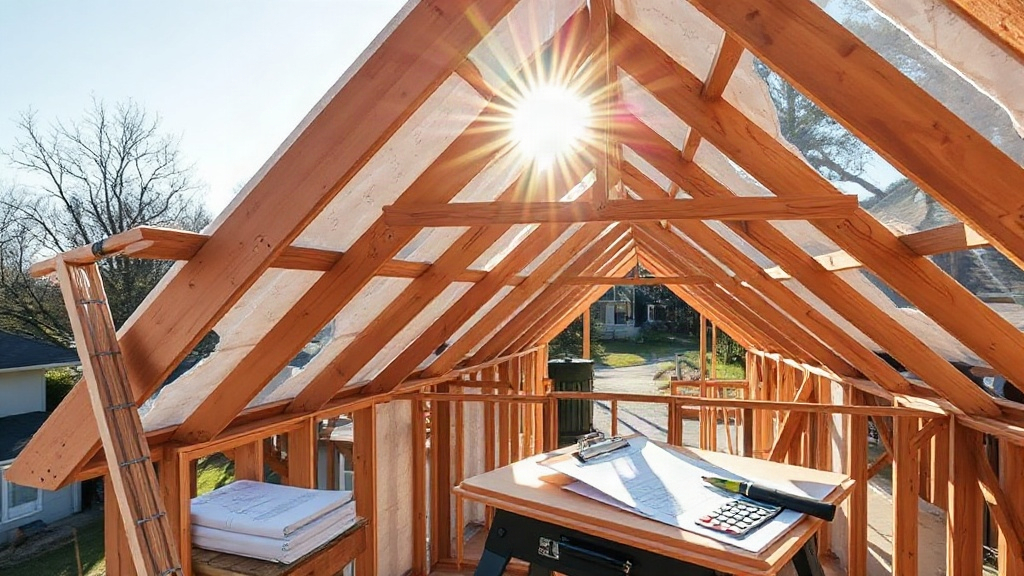
When you're planning a renovation or a new build, the insulation you choose can make or break your energy bills and comfort. Among the many options, EPS insulation (expanded polystyrene) often stands out for its balance of cost, performance, and versatility. But how do you know if it's right for your project? And how do you determine the correct thickness? This article walks you through the essentials, from R-values to real-world costs, and shows you how an EPS insulation calculator can simplify your decisions. We'll also look at where insulated roof panels fit into the picture and why they might be a game-changer for your roof.
What Is EPS Insulation and Why Does It Matter?
EPS insulation is a rigid foam board made from expanded polystyrene beads. It's lightweight, easy to cut, and affordable, which makes it a popular choice for walls, floors, and roofs. Unlike some other insulation materials, EPS doesn't absorb water easily, and it maintains its thermal performance over time. That means your home stays warmer in winter and cooler in summer without the insulation losing its effectiveness.
One of the key metrics for any insulation is its R-value, which measures thermal resistance. The higher the R-value, the better the insulation. For EPS, the R-value typically ranges from about 3.6 to 4.2 per inch of thickness, depending on density. That's lower than polyisocyanurate or closed-cell spray foam, but EPS is significantly cheaper, and with proper thickness, you can achieve the same overall R-value.
But how thick should your EPS be? That's where an EPS insulation calculator comes in. Instead of guessing, you can input your climate zone, the area you're insulating, and your target R-value, and the calculator tells you the exact thickness needed. This takes the guesswork out of your project and helps you avoid over- or under-insulating.
How to Use an EPS Insulation Calculator for Accurate Results
Using an EPS insulation calculator is straightforward, but a few details matter to get accurate numbers. Here's what you'll typically need to input:
- Area to insulate: Measure the square footage of your walls, roof, or floor. For roofs, don't forget to account for slopes.
- Target R-value: Check your local building codes or energy efficiency recommendations. In colder climates, you might need R-49 for roofs and R-20 for walls.
- EPS density: Standard EPS has an R-value of about 3.8 per inch, but higher-density versions can reach 4.2. The calculator may ask for this or use a default.
- Thickness options: Some calculators let you compare different thicknesses to see the impact on cost and performance.
Once you have these inputs, the calculator will output the required thickness, the number of boards needed, and sometimes an estimated cost. This is invaluable for budgeting and planning. For example, if you're insulating a 1,000 square foot attic in a cold climate (target R-49), you'd need about 13 inches of standard EPS. The calculator would tell you that you need, say, 1,000 square feet of 13-inch thick EPS boards, which might come in multiple layers. It also helps you compare the cost of EPS versus other materials for the same R-value.
Common Mistakes to Avoid When Using a Calculator
Even with a calculator, it's easy to slip up. Here are a few pitfalls to watch for:
- Forgetting thermal bridging: Wood studs or joists conduct heat, reducing overall R-value. Some calculators allow you to account for this by specifying framing details.
- Ignoring air sealing: Insulation works best when air leaks are sealed. If you have gaps, your effective R-value drops.
- Using the wrong R-value per inch: Always check the manufacturer's data for the specific EPS product you're using.
- Overlooking moisture control: In humid climates, you may need a vapor barrier or ventilation to prevent mold.
By avoiding these mistakes, you'll get a more reliable estimate and a better-performing insulation system.
The Role of Insulated Roof Panels in Energy-Efficient Homes
When it comes to roofs, traditional insulation methods can be labor-intensive and may not provide continuous coverage. That's where insulated roof panels shine. These panels, also known as structural insulated panels (SIPs) or insulated roof panels, consist of an insulating foam core (often EPS) sandwiched between two layers of structural board (like OSB or plywood). They serve as both the roof deck and insulation, eliminating thermal bridging and speeding up construction.
Insulated roof panels offer several advantages:
- High R-value: Because the foam core is continuous, you get consistent insulation without gaps.
- Fast installation: Panels are prefabricated and can be installed quickly, reducing labor costs.
- Energy efficiency: They minimize air leakage and thermal bridging, leading to lower heating and cooling bills.
- Durability: The sandwich construction is strong and can support heavy loads.
However, insulated roof panels are not a one-size-fits-all solution. They require careful design and professional installation. If you're considering them, use an EPS insulation calculator to determine the required panel thickness for your climate. Many manufacturers provide calculators specific to their panels, but you can also use a general EPS calculator as a starting point.
Comparing EPS Insulation with Other Materials
How does EPS stack up against other common insulation materials? Here's a quick comparison:
- EPS: R-value ~3.8 per inch, cost $0.30-$0.50 per square foot for 1-inch thickness, moisture-resistant, lightweight.
- XPS (extruded polystyrene): R-value ~5 per inch, cost $0.50-$0.80 per square foot, higher moisture resistance, but more expensive and less eco-friendly due to blowing agents.
- Polyiso: R-value ~6 per inch, cost $0.60-$1.00 per square foot, best for high R-value needs, but can lose performance in cold temperatures.
- Fiberglass batts: R-value ~3.2 per inch, cost $0.20-$0.40 per square foot, but prone to air gaps and moisture issues.
For budget-conscious projects, EPS often wins. It's also the most environmentally friendly among rigid foams because it doesn't use ozone-depleting blowing agents. And with an EPS insulation calculator, you can quickly see how much you'll need and what it will cost.
Real-World Tips for Installing EPS Insulation
Installing EPS insulation isn't complicated, but a few best practices ensure optimal performance:
- Store properly: Keep EPS boards dry and out of direct sunlight before installation.
- Cut precisely: Use a sharp utility knife or a hot wire cutter for clean edges. Gaps reduce effectiveness.
- Seal joints: Use expanding foam or tape to seal gaps between boards.
- Layer for thickness: If you need more than 2 inches, consider layering boards with staggered joints to reduce thermal bridging.
- Protect from UV: EPS degrades in sunlight, so cover it with siding or roofing material promptly.
For roofs, if you're not using insulated roof panels, you can install EPS between rafters and add a continuous layer above the deck. But this can be tricky; many homeowners opt for insulated roof panels to avoid the hassle.
Frequently Asked Questions About EPS Insulation
How do I calculate the R-value of my EPS insulation?
To calculate the R-value, multiply the thickness of the EPS in inches by its R-value per inch. For example, 2 inches of EPS with an R-value of 3.8 per inch gives you R-7.6. If you're using an EPS insulation calculator, it will do this for you automatically. Just input the thickness and the R-value per inch, and it will output the total R-value.
What is the typical cost of EPS insulation per square foot?
EPS insulation typically costs between $0.30 and $0.50 per square foot for 1-inch thickness. Prices vary by density, thickness, and location. For a 1,000 square foot area with 2-inch EPS, you might pay $600 to $1,000. Using an EPS insulation calculator can give you a more accurate estimate based on your specific project.
Can I use EPS insulation in a cold climate?
Yes, EPS performs well in cold climates as long as it's installed correctly. It maintains its R-value and doesn't degrade in low temperatures. However, you may need a thicker layer to meet building codes. For example, in climate zone 6, roofs typically require R-49, which would need about 13 inches of EPS. An EPS insulation calculator can help you determine the exact thickness.
Are insulated roof panels worth the investment?
Insulated roof panels can be a worthwhile investment if you're building a new home or doing a major renovation. They offer superior energy efficiency, faster installation, and reduced labor costs. While the upfront cost is higher than traditional insulation, the long-term savings on energy bills and the improved comfort often justify the expense. Use an EPS insulation calculator to compare the cost and performance of insulated roof panels versus a stick-built roof with EPS insulation.
How do I choose the right thickness for EPS insulation?
The right thickness depends on your target R-value, which is determined by your climate and building codes. Start by finding the recommended R-value for your area, then divide by the R-value per inch of your EPS (usually 3.8 to 4.2). For example, if you need R-20, you'd need about 5.3 inches of EPS with R-3.8 per inch. An EPS insulation calculator simplifies this by letting you input your target R-value and instantly showing the required thickness.